This guide introduces the Asciidoctor processor and the output formats it produces. You will learn how to:
-
process a document from the CLI and API
-
render a document to HTML
-
apply the default Asciidoctor CSS theme
-
render a document to DocBook 5
| In order to render your document, you’ll need to have Asciidoctor installed. For step-by-step installation instructions, read the Installing the Toolchain guide. |
While the AsciiDoc syntax is designed to be readable in raw form, the intended audience for that format are writers and editors. Readers aren’t going to appreciate the raw text nearly as much. Aesthetics matter. You’ll want to apply nice typography with font sizes that adhere to the golden ratio, colors, icons and images to give it the respect it deserves. That’s where the Asciidoctor themes and backends come into play.
Selecting an Output Format
The Asciidoctor processor is typically used to parse an AsciiDoc document and convert it to a variety of formats, including HTML, DocBook and PDF. This section describes how to specify the output format.
The processor generates the output format using a converter, which is mapped to the name of a backend.
You specify the backend—and therefore the converter—using the -b (--backend) command line option or backend API option.
If no backend is specified, the processor uses the converter for the default backend (html5).
Asciidoctor provides several built-in converters, which are mapped to the following backend names:
- html (or html5)
-
HTML 5, styled with CSS3 (default).
- xhtml (or xhtml5)
-
The XHTML variant of the output from
html5. - docbook (or docbook5)
-
DocBook 5.0 XML.0.
- docbook45
-
DocBook 4.5 XML.
- manpage
-
Manual pages for Unix and Unix-like operating systems.
Asciidoctor also has several add-on converters, which can be plugged in by adding the appropriate library to the runtime path (e.g., -r asciidoctor-pdf).
These converters are mapped to the following backend names:
-
PDF, a portable document format. Requires the asciidoctor-pdf gem.
- epub3
-
EPUB3, a distribution and interchange format standard for digital publications and documents. Requires the asciidoctor-epub3 gem.
- latex
-
LaTeX, a document preparation system for high-quality typesetting. Requires the asciidoctor-latex gem.
- mallard
-
Mallard 1.0 XML. Requires the asciidoctor-mallard gem (not yet released).
There are also converters available for HTML5 presentation systems such as Bespoke.js, reveal.js and deck.js. Those converters are still in development and will be documented once releases become available.
Rendering a document to HTML
Asciidoctor’s default output is HTML. You can render a document to HTML using the CLI or the Ruby API.
Using the command line tool
In this section, we’ll create a sample document, then process and render it with Asciidoctor’s html5 converter.
-
Create an AsciiDoc file like the one below
-
Save the file as
mysample.adoc
= My First Experience with the Dangers of Documentation

In my world, we don't have to worry about mutant, script-injecting warlocks.
No.
We have something far worse.
We're plagued by Wolpertingers.

== Origins

You may not be familiar with these http://en.wikipedia.org/wiki/Wolpertinger[ravenous beasts], but, trust me, they'll eat your shorts and suck the loops from your code.
To convert mysample.adoc to HTML from the command line:
-
Open a console
-
Switch to the directory that contains the mysample.adoc document
-
Call the Asciidoctor processor with the
asciidoctorcommand, followed by the name of the document you want to render
$ asciidoctor mysample.adoc
Remember, Asciidoctor’s default converter is html5, so it isn’t necessary to specify it with the -b command.
You won’t see any messages printed to the console.
If you type ls or view the directory in a file manager, there is a new file named mysample.html.
$ ls
mysample.adoc  mysample.html
Asciidoctor derives the name of the output document from the name of the input document.
Open mysample.html in your web browser.
Your document should look like the image below.
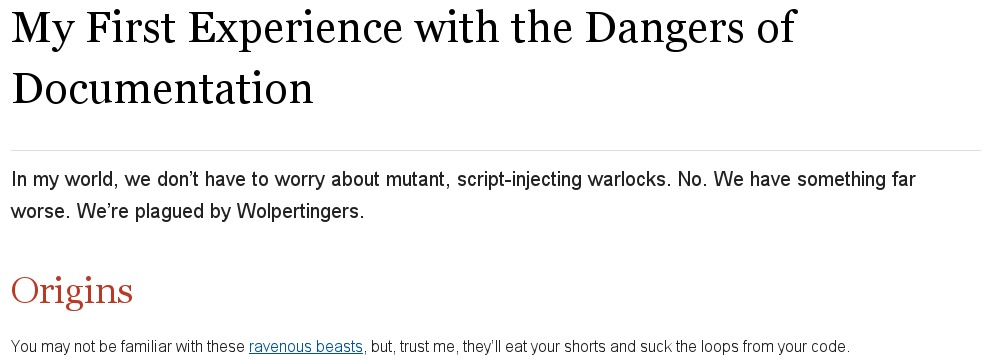
The document’s text, titles, and link is styled by the default Asciidoctor stylesheet, which is embedded in the HTML output. As a result, you could save mysample.html to any computer and it will look the same.
Using the Ruby API
Asciidoctor also includes a Ruby API that lets you generate an HTML document directly from a Ruby application.
require 'asciidoctor'

Asciidoctor.convert_file 'mysample.adoc'
Alternatively, you can capture the HTML output in a variable instead of writing it to a file.
html = Asciidoctor.convert_file 'mysample.adoc', to_file: false, header_footer: true
puts html
The convert methods also accept a map of options. Use of this map is described in [ruby-api-options].
Styling the HTML with CSS
Asciidoctor uses CSS for HTML document styling and JavaScript for generating document attributes such as a table of contents and footnotes.
It comes bundled with a fresh, modern stylesheet, named asciidoctor.css.
When you generate a document with the html5 backend, the asciidoctor.css stylesheet is embedded into the HTML output by default (when the safe mode is less than SECURE).
You have the option of linking to the stylesheet instead of embedding it. This is the mandatory behavior when the safe mode is SECURE. If your stylesheet is being linked instead of embedded, adjust the safe mode.
To have your document link to the stylesheet, set the linkcss attribute in the document’s header.
= My First Experience with the Dangers of Documentation
:linkcss:

In my world, we don't have to worry about mutant, script-injecting warlocks.
No.
We have something far worse.
We're plagued by Wolpertingers.

== Origins

You may not be familiar with these http://en.wikipedia.org/wiki/Wolpertinger[ravenous beasts], but, trust me, they'll eat your shorts and suck the loops from your code.
You can also set linkcss with the CLI.
$ asciidoctor -a linkcss mysample.adoc
Now, when you view the directory, you should see the file asciidoctor.css in addition to mysample.adoc and mysample.html.
The linkcss attribute automatically copies asciidoctor.css to the output directory.
Additionally, you can inspect mysample.html in your browser and see <link rel="stylesheet" href="./asciidoctor.css"> inside the <head> tags.

If you don’t want any styles applied to the HTML output of your document, unset the stylesheet attribute.
$ asciidoctor -a stylesheet! mysample.adoc
One of Asciidoctor’s strengths is the ease in which you can swap the default stylesheet for an alternative Asciidoctor theme or use your own custom stylesheet.
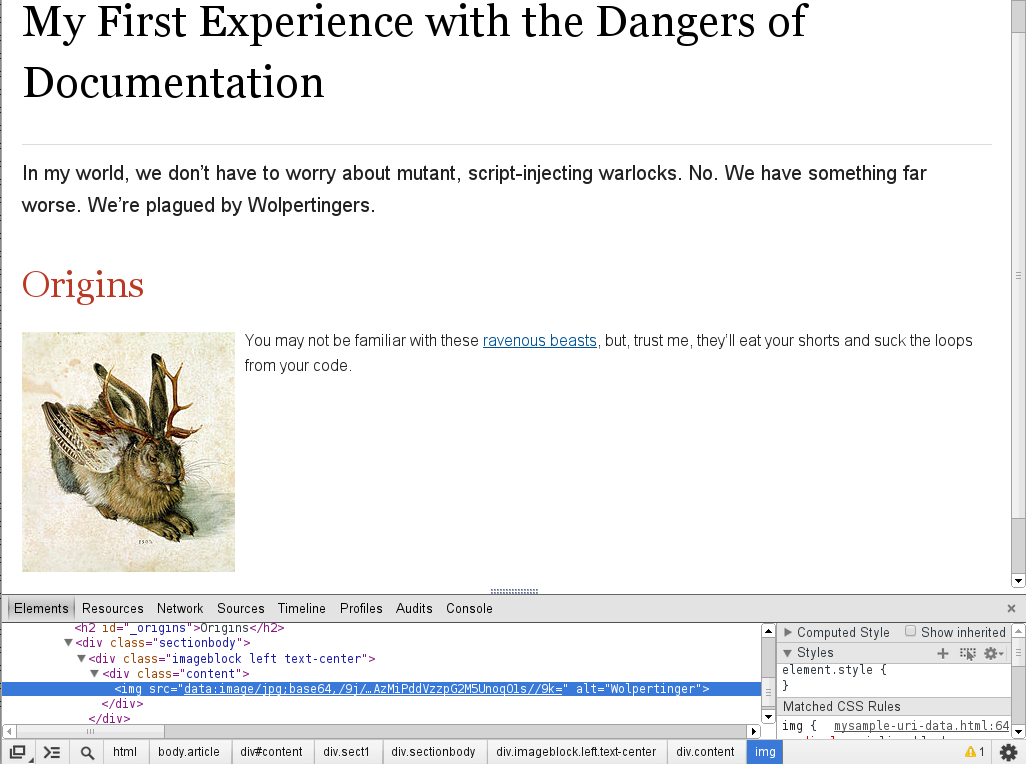
Managing images
Images are not embedded in the HTML output by default. If you have image references in your document, you’ll have to save the image files in the same directory as your rendered document.
As an alternative, you can embed the images directly into the document by setting the data-uri document attribute.
$ asciidoctor -a data-uri mysample.adoc
= My First Experience with the Dangers of Documentation
:imagesdir: myimages
:data-uri:

In my world, we don't have to worry about mutant, script-injecting warlocks.
No.
We have something far worse.
We're plagued by Wolpertingers.

== Origins

[.left.text-center]
image::wolpertinger.jpg[Wolpertinger]

You may not be familiar with these http://en.wikipedia.org/wiki/Wolpertinger[ravenous beasts], but, trust me, they'll eat your shorts and suck the loops from your code.
If the target of one or more images in the document is a URI, you must also set the allow-uri-read attribute securely and run Asciidoctor in SECURE mode or less.
$ asciidoctor -a data-uri -a allow-uri-read mysample.adoc
The same is true when converting the document to PDF using Asciidoctor PDF, even if the allow-uri-read attribute is not set (since the behavior is implied).
CodeRay and Pygments stylesheets
Asciidoctor will also embed the theme stylesheet for the CodeRay or Pygments syntax highlighter.
If the source-highlighter attribute is coderay and the coderay-css attribute is class, the CodeRay stylesheet is:
-
embedded by default
-
copied to the file asciidoctor-coderay.css inside the
stylesdirfolder within the output directory iflinkcssis set
If the source-highlighter attribute is pygments and the pygments-css attribute is class, the Pygments stylesheet is:
-
embedded by default
-
copied to the file asciidoctor-pygments.css inside the
stylesdirfolder within the output directory iflinkcssis set
Rendering a document to DocBook
Asciidoctor can produce DocBook 5.0 and 4.5 output. Since the AsciiDoc syntax was designed with DocBook output in mind, the conversion is very good. There’s a corresponding DocBook element for each markup in the AsciiDoc syntax.
To convert the mysample.adoc document to DocBook 5.0 format, call the processor with the backend flag set to docbook.
$ asciidoctor -b docbook mysample.adoc
A new XML document, named mysample.xml, will now be present in the current directory.
$ ls
mysample.adoc  mysample.html  mysample.xml
Here’s a snippet of the XML generated by the DocBook converter.
<?xml version="1.0" encoding="UTF-8"?>
<article xmlns="http://docbook.org/ns/docbook"
    xmlns:xl="http://www.w3.org/1999/xlink" version="5.0" xml:lang="en">
  <info>
    <title>Hello, AsciiDoc!</title>
    <date>2013-09-03</date>
    <author>
      <personname>
        <firstname>Doc</firstname>
        <surname>Writer</surname>
      </personname>
      <email>doc@example.com</email>
    </author>
    <authorinitials>DW</authorinitials>
  </info>
  <simpara>
    An introduction to <link xl:href="http://asciidoc.org">AsciiDoc</link>.
  </simpara>
  <section xml:id="_first_section">
    <title>First Section</title>
    <itemizedlist>
      <listitem>
        <simpara>item 1</simpara>
      </listitem>
      <listitem>
        <simpara>item 2</simpara>
      </listitem>
    </itemizedlist>
  </section>
</article>|
By default, the |
If you’re on Linux, you can view the DocBook file with Yelp.
$ yelp mysample.xml
And of course, if you’re using the Asciidoctor Ruby API, you can generate a DocBook document directly from your application.
Asciidoctor.convert_file 'mysample.adoc', backend: 'docbook'By default, the docbook converter produces DocBook 5.0 output that is compliant to the DocBook 5.0 specification.
A summary of the differences are as follows:
-
XSD declarations are used on the document root instead of a DTD
-
<info>elements for document info instead of<articleinfo>and<bookinfo> -
elements that hold the author’s name are wrapped in a
<personname>element -
the id for an element is defined using an
xml:idattribute -
<link>is used for links instead of<ulink> -
the URL for a link is defined using the
xl:hrefattribute
Refer to What’s new in DocBook v5.0? for more details about how DocBook 5.0 differs from DocBook 4.5.
If you need to output DocBook 4.5, set the backend to docbook45.
$ asciidoctor -b docbook45 mysample.adoc
Resources and help
There’s really no end to the customization you can apply to the output that the Asciidoctor processor generates. We’ve just scratched the surface in this guide.
To learn about the other backends and stylesheets, checkout out the following resources:
Need an overview of the AsciiDoc syntax?
Want to dive deep into all of Asciidoctor’s features?
Additional guides are listed on the Documentation page. Also, don’t forget to join the Asciidoctor mailing list, where you can ask questions and leave comments.